Destinations
| Purpose |
|---|
| The Destinations options is used to create and manage the destinations where the product instances should be delivered to. |
 |
Note |
| This option is available only if the user is logged in and has the right to edit the destinations for their organization. |
To be able to regularly receive data instances of a certain product, the user has to:
- Click
 and select Destinations: create a destination. A destination is a communication channel able to deliver data to a location accessible to the user. It can use common protocols such as FTP, SFTP, e-mail. Destinations are shared among users belonging to one organization.
 - Click and select Search products: look up the products that you want to receive.
- After the search products are listed, use the check-boxes to select all products and click the Subscribe selected button to subscribe to products, i.e. specify that these products should be sent to a specific destination.
Destinations
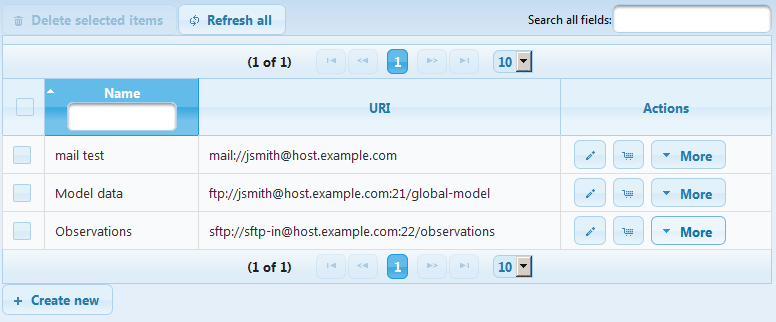
After selecting the Destinations, the list of specified destinations will be displayed.
Destination is a specification of method and place where the product instance may be delivered. Products that you have subscribed to can be delivered to you by e-mail or by FTP-upload to a file system directory on a FTP server you have access to and a valid FTP account for.
The following information is listed about the destinations:
- Destination name: the specified destination name
- URI: URI description of the destination
It is possible to limit the display of the destination - this is useful if you have a lot of destinations. Do one of the following:
- Name: Enter a part of the name. Only destinations where the name includes the specified string will be listed.
- Search all fields: Enter a string that you are looking for. Only destinations where the name or the URI includes the specified string will be listed.
Depending on the privileges of your user account you may be able to edit destination (create new ones, modify or delete existing ones).
View list of subscribed products
It is possible to display the list of products and packages that are subscribed to the given destination. Do the following:
- Click
 in the Actions column of the given destination.
 - The Subscribed products page will be displayed, listing all products that are currently subscribed for this destination.
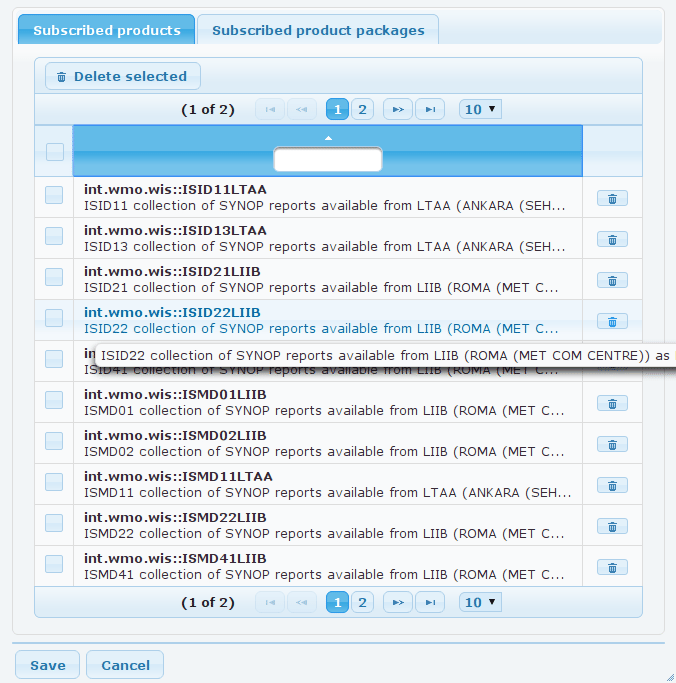
- It is not possible to add new subscriptions from this page, however you can delete unwanted subscriptions:
- delete a single subscription: Click
 next to the unwanted subscription.
 - delete several subscriptions: Click the checkbox in front of each unwanted subscription and then click the Delete selected items button.
- delete a single subscription: Click
Modify destination properties
Users who have editing privileges can change the specified destinations:
To edit an existing destination:
- Click
 in the Actions column of the given destination. The Destination Properties page will be displayed.
 - Make the required changes.
- Click Save.
Delete destination
To delete an existing destination:
- In the Actions column of the given destination click the More button and select the Delete option.
- You will be prompted to confirm the deletion on a separate page showing the name of the destination. Click Delete to confirm.
Copy destination
It is possible to create a copy of the selected destination - this is useful if the new destination is quite similar to an existing one, therefore you will not have to enter each single destination property.
- In the Actions column of the given destination click the More button and select the Copy option.
- A dialog showing the copied destination properties will be displayed.
- Name: Assign a name to the destination (by default the name is
name of copied destination_copy. - Change the properties that should be different in this new destination.
- Click Save.
Resend product instances
Sometimes you may want to repeat the sending of certain product instances: for example you have deleted some older product instances and then realized that you need them again. It is possible to send all product instances from the specified period to the same destination again.
Do the following:
- In the Actions column of the given destination click the More button and select the Reship option.
- The Product reshipment dialog will be displayed:
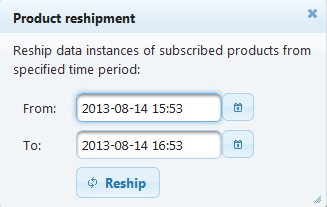
- From and To: Specify the period from which you need the product instances.
- Click Reship.
Display statistics
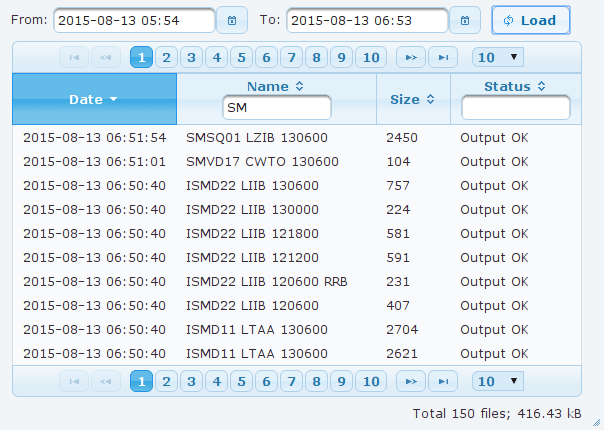
It is possible to display statistics of a destination, i.e. to list messages and files that were transmitted via this communication channel.
- In the Actions column of the given destination click the More button and select the Show statistics option.
- In the displayed dialog specify the time interval from which the statistics should be displayed.
- Click Load.
Stop or start destination
In certain cases you may decide that communication channel to a destination needs to be stopped:
- In the Actions column of the given destination click the More button and select the Stop option. A stopped destination will be displayed in grey font.
- To start the channel again, click the More button and select the Start option.
Users may starting and stop their communication channels only if this feature is enabled by the system administrator.